We all have ways that we like to do things. The beauty of art and programs such as Adobe Photoshop and Vue are that there are multiple ways to get a result. Sometimes I find myself in a position where I want a specific plant, for example, for a 2D image and know that there is such a one in Vue. Not only is it there, but I can modify it to my liking. This is the simple way I make use of the 3D objects in Vue for my 2D work.
Step 1 - I choose an image, in this case a dead tree, and set it up with lights according to my specifications. I will often use an atmosphere for the sole purpose of how it lights the objects. Here I just used a default atmosphere for the purposes of the tutorial. In the case of the tree, I raised it above the ground so as to make sure I got all the roots.
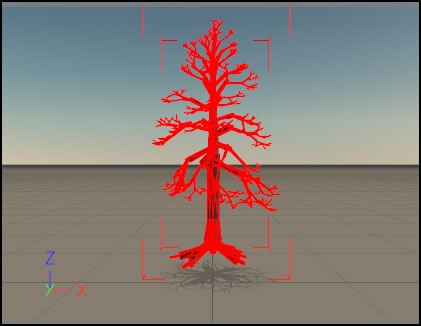
Step 2 - I double click on the sun to open the menu and deselect Enable shadows. However, if you know the direction of the light in your final image, you might not want to uncheck the box. I found that it made little difference whether I checked it or unchecked it. If you want strong lighting, add spotlights.

Step 3 - I set up my rendering next. I render at least 800 x 600 and at least at Superior. If you have a preference, choose that. The key is to select the object to be rendered and check the render Only selected objects box.
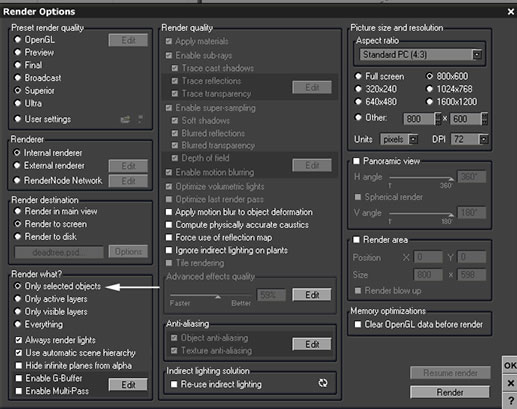
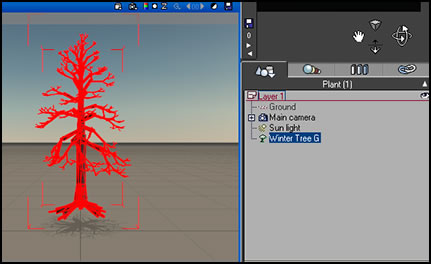
The Render Only selected objects corresponds to the selection of the Winter Tree G.
Step 4 - Once the object is rendered, you click on the save icon on the top right of the screen to save it as a picture. I save as a psd.

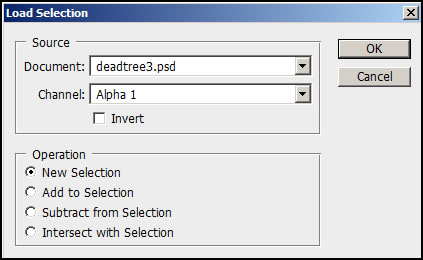
Step 5 - Once the picture is saved, you can load the tree since you have saved an alpha channel automatically. In Photoshop go to Select>Load>Alpha 1.
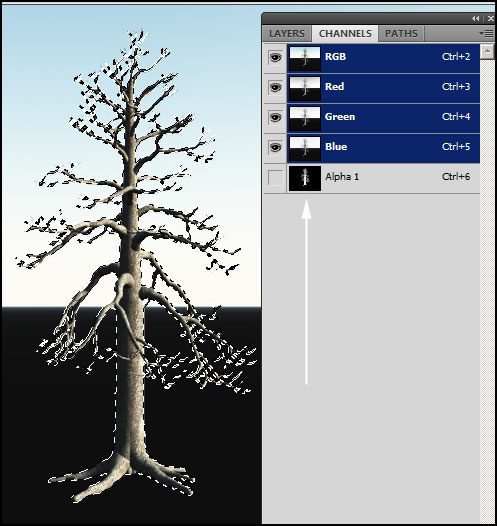
Below is the Load Selection menu in Photoshop
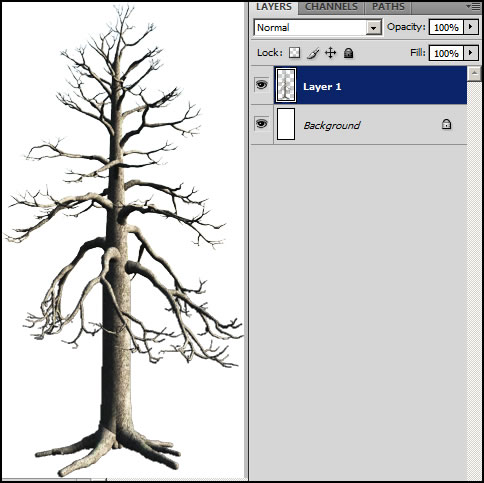
Now you can copy and past it into another image. I leave it in two layers so it is easy to select and use as often as I need. I keep a file of images called "Graphic Components."
Doing this is easy and quick and you can collect as many images as you need. You can, also, increase parts of the render in the Render Options menu for a more perfect render than I have demonstrated. Since you are only rendering one object, the render should not take long.