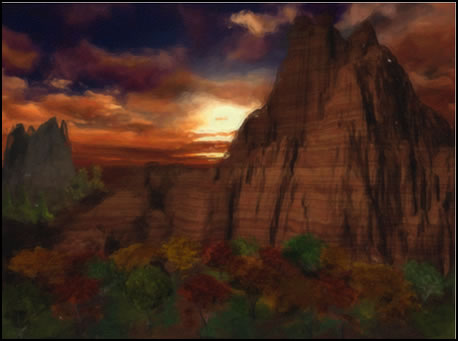
I wrote this tutorial with two goals in mind. The first was to produce an image that I would use in my multi-media multi-printing project and the second was to produce a similar image as a final image for the web or for regular print. To do this, I decided to use a basic image and make different Snap Art 2 layers from it. This image was created in e-on software's Vue 6 Infinite for this express purpose. It is not meant to be realistic and the colors were chosen for a particular look I had in mind.
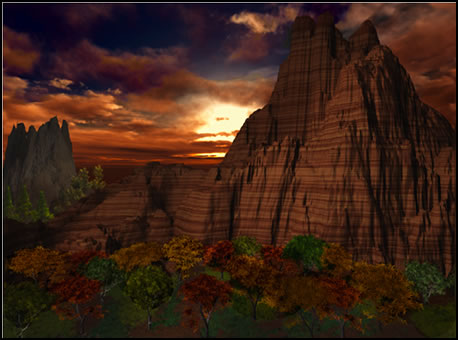
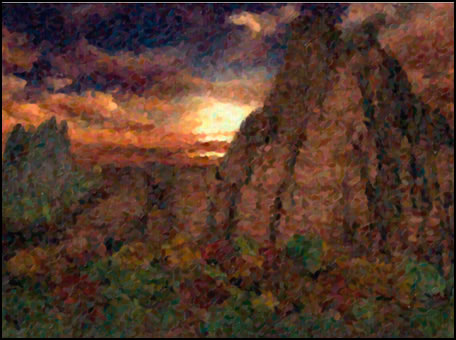
Step 1 - Create the image for the final printing size. This one is about 16" x 12" at 240 dpi. Modify it if necessary in Photoshop CS4. I increased the brightness of some areas and decreased it in other areas. I used masks that had already been created when I rendered it in Vue 6 Infinite through multipass rendering. Here is the original layer after it was modified in Photoshop. Remember this is not the final image, but is to be used as a base for a final image.
Step 2 - For this project to create the various Snap Art 2 layers, you always go to the background layer and close the eye on any other layer so it isn't visible. For each Snap Art 2 layer, I started out with a basic preset. The tables below show how I modified it. The only numbers shown are those I modified. [Note: the tables will vary a little depending on the style chosen - Impasto, Watercolor......]
| BASIC | |||||||
|---|---|---|---|---|---|---|---|
Impasto 1 Landscape-Large brush, Curved strokes |
Impasto2 Abstract, Med brush, short Strokes |
Impasto3 Abstract, Small brush, Curved strokes |
Pointillism 1 Abstract Large brush |
Watercolor 1 Landscape moderate realism |
Pointillism 2 Large Abstract |
||
| Brush Style | 30 | ||||||
| Brush Size | 40 | ||||||
| Photorealism Amount | |||||||
| Paint Thickness | 100 | 75 | 75 | ||||
| Paint Stroke Length | 80 | 75 | |||||
| Paint Coverage | 75 | 100 | 90 | ||||
| COLOR | |||||||
|---|---|---|---|---|---|---|---|
| Impasto 1 | Impasto2 | Impasto3 | Pointillism 1 | Watercolor 1 | Pointillism 2 | ||
| Saturation | 6 | 8 | 10 | 10 | 0 | 10 | |
| Contrast | 2 | 6 | 6 | 10 | 10 | ||
| Brightness | 5 | ||||||
| Color Temp | -5 (cool) | -10 (cool) | |||||
| Random Color Variation | 40 | 30 | |||||
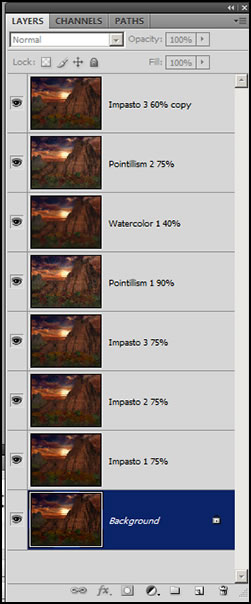
Step 3 - Once each layer was produced, I loosely set its layer opacity. This was modified frequently.
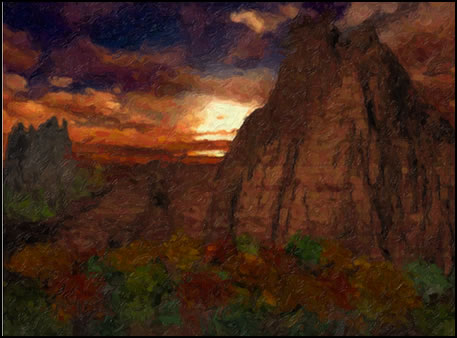
Now let's look at the individual layers and how they looked before their opacity was changed and, therefore, how they would look in combination with the layers under them. The top layer in the layer's panel is always the final layer. If it is set at 100% opacity and normal blending mode, none of the layers underneath will influence it.
Impasto 1
Impasto 2
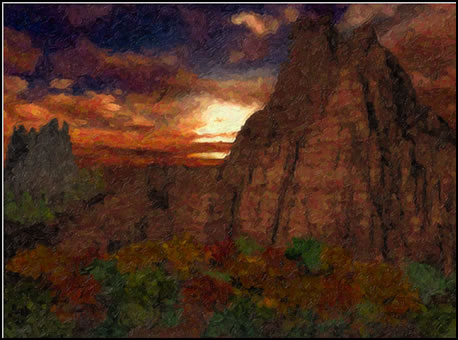
Impasto 3
Pointillism 1
Watercolor
Pointillism 2

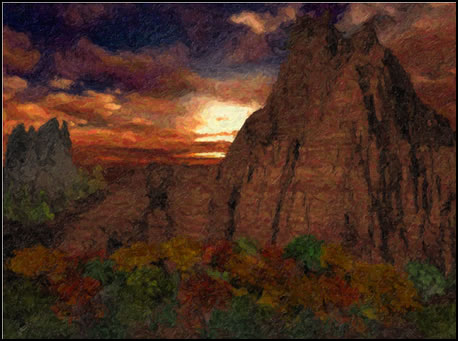
What I will show in this tutorial is the image designed for the web, not for the multi-media project.
Below is the final image.
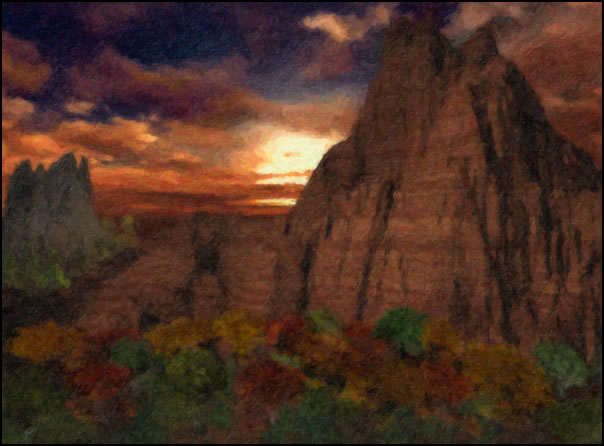
This tutorial has been written to show the possibilities available for using multiple layers and different Snap Art 2 media. The numbers will really only apply to this particular image, but they demonstrate what can be done. In addition to working with layer opacities, you can work with various blending modes.
The breadth of what is possible just using the Snap Art 2 plug-in is very great. I hope this tutorial will be a starting point for your own image development.