I have been reviewing Adobe Photoshop Elements since almost its inception. I have seen it grow in numerable ways. Adobe mentioned that in this version one can concentrate on capturing memories and not have to worry about taking the image. What this means is that areas such as camera shake, often found in phone selfies, can be easily fixed and do not necessarily have to be an area of concern. Adobe has enhanced a number of features both in the Organizer and in the Photo Editor as well as adding a few new ones. The new features can be found in the Photo Editor and I will describe them later in the review.
When you first install Photoshop Elements, you have the option of using past catalogs so you don't have to set them up. However, if you are new to Photoshop Elements, you have many options for importing single images or groups of images. I do not like to show images where people can be recognized without photo releases, so I will blur them out or use images of animals. The first screen that opens is the Welcome screen. Here you can decide if you want Photoshop Elements 14 to first open with the Organizer - where all your pictures are stored - or in the Photo Editor.
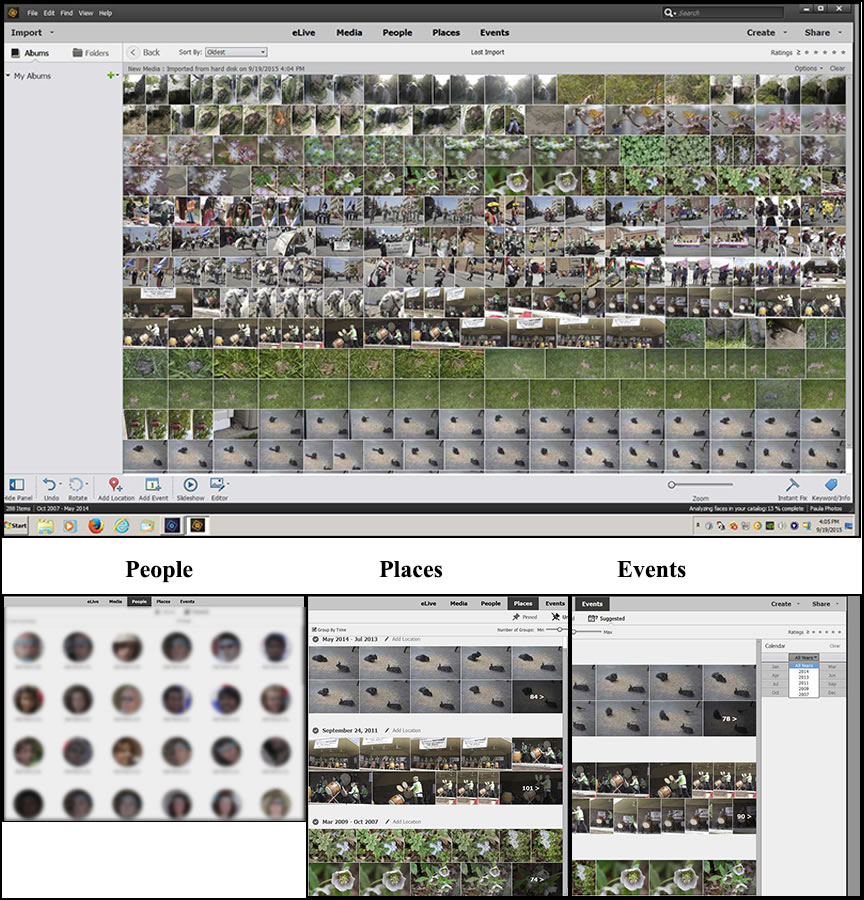
The Organizer gives the user the option of selecting images through categories. If you have taken your photo with a device with a GPS, the Organizer will place the image according to the coordinates on a map. The Organizer will, also, select from your photos of people, photos of the same people and stack them. You, then, have the option of naming the people. Both the Places and People ( face recognition) options have been enhanced for speed and accuracy in Photoshop Elements 14. You will notice on the screen captures below that by using the Events category, you can choose images by dates.
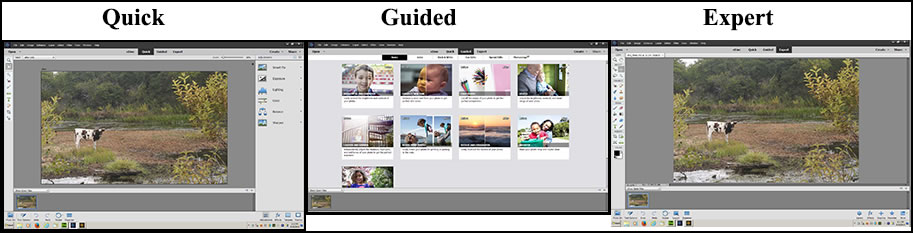
The Photo Editor, for me, is the core of Adobe Photoshop Elements. It is comprised of three types of Edits - Quick, Guided, and Expert. This allows for users to grow within the same program as well as combine different degrees of editing within the same image. With each new version of Photoshop Elements, Adobe has added more tools or effects so that correcting an image is easy. Two new corrections are for reducing camera shake, especially useful when taking selfies with your phone, and for haze removal so your images will sparkle.
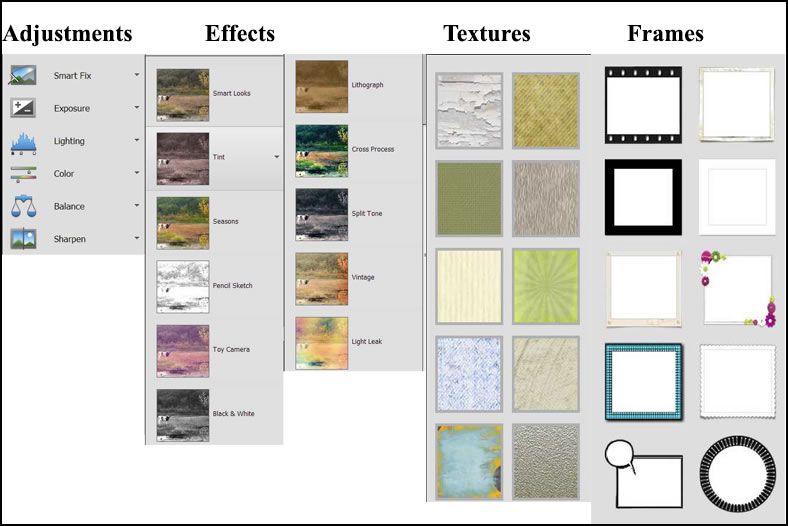
Quick Edits has 4 categories. Under Effects, each category has 5 modifications.
Below is an example of the choices under lighting. As you hover your mouse over each choice, the image will change so you can decide which one to choose. In addition, you can use Auto Levels and Auto Contrast. While this is a Quick Edit, you still are in control of your image.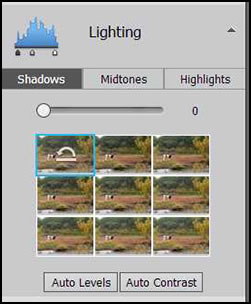
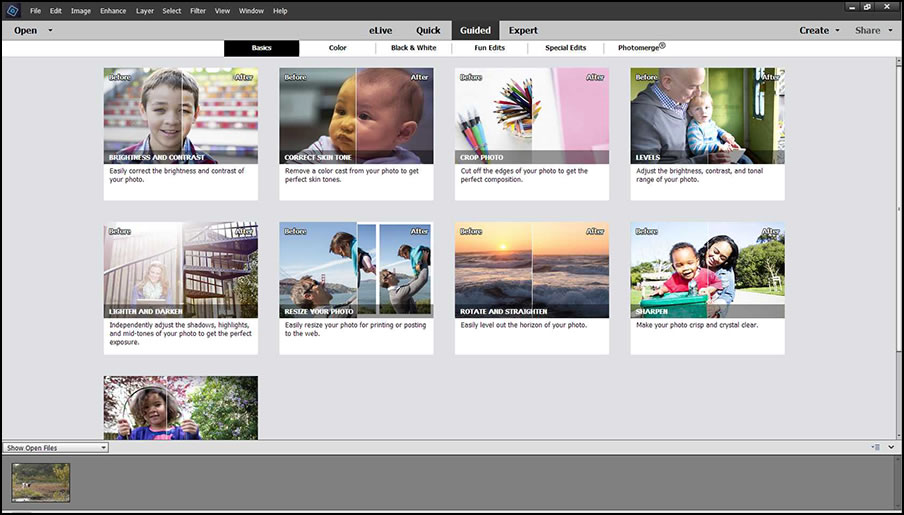
Guided Edits allow the user to do manual type corrections or effects by following simple steps (mini tutorials). That is why this section is called Guided Edits. In previous versions, the edits were listed on a right panel. Now they are grouped pictorially on a screen. There are 6 categories for these edits. Shown on this screen capture are the 9 possible types of edits under Basic.
I do not like the new arrangement for the Guided Edits because you have to choose what edit you want to perform before you can open up your image, which was not the case in prior versions. Also, each time you want to add a change, you have to maneuver back to the Guided Edits screen. I have not found an easy way to do this. It now takes a number of steps to get back to the Guided Edits Screen instead of just going to a new Guided Edit.
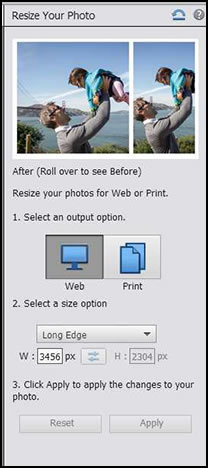
Resize is a new feature under Guided Edits. How to do this is found in the instructions on the right panel.
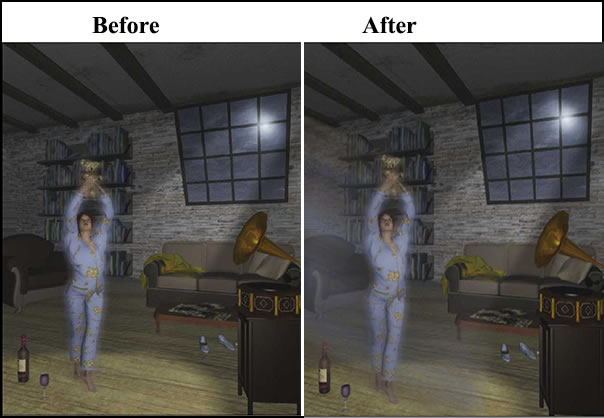
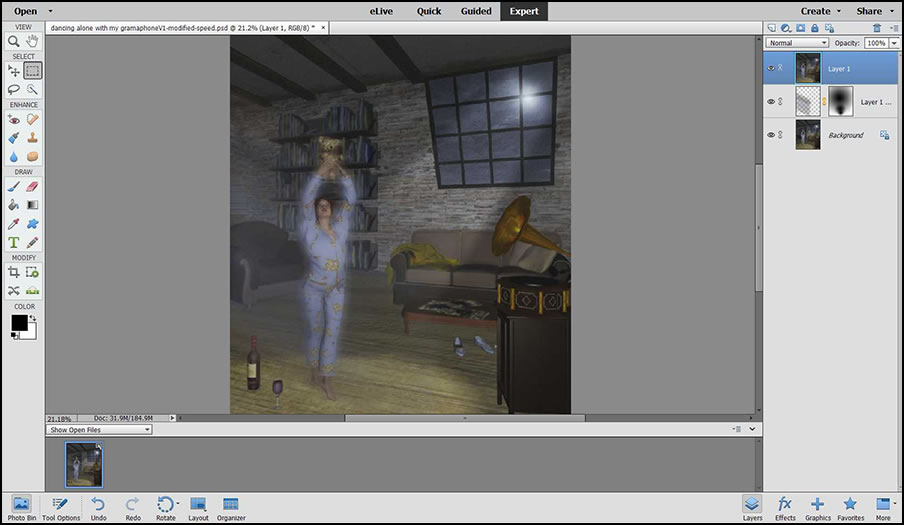
Another new feature in Guided Edits is the Speed Effect found under the category Fun Edits.
One area that Photoshop Elements has and is not usually mentioned is the ability to see your Guided Edits in Expert mode. If you perform a task in the Guided Edit and open that image in Expert mode, you can see the steps you took in the Guided mode. This is a marvelous learning device for those who still want to control their images manually in Photoshop Elements or for those who want to go on to Photoshop CC. They will appear when the image is opened under Expert Edits in the Layers panel. When in Expert mode, the Layers panel can be accessed from the top tool bar under Windows>Layers.
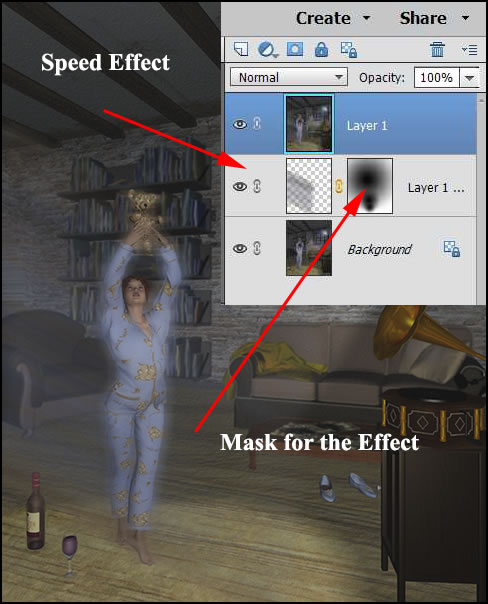
You can, also, open the functions displayed on the right panel from the bottom right of the screen. Below is a screen capture of the Expert mode with the Layers panel showing. The layers were actually created in Guided Edits.
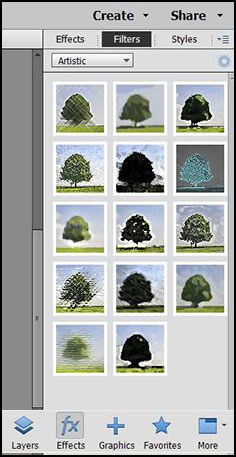
When you select from the major category, Effects, you can choose between Effects, Filters, and Styles.
For all those Selfies you take that shake ever so slightly or a lot, you can now reduce the Camera Shake. This option can be found under Enhance on the top toolbar. Since I do not take photos with my cell phone, I wanted to use a selfie so I used a slightly blurry one provided by Adobe and added the Camera Shake reduction to it.
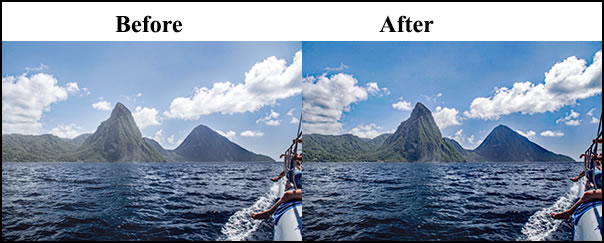
Another new feature found in the Enhance category at the top of the toolbar is the Haze Removal. I have not taken images for a long time with haze, so once again, I am using an image provided by Adobe as the before image.
The Refine Edge Brush has been enhanced, according to Adobe, in Photoshop Elements 14. I, personally, didn't notice a difference from using it in Photoshop Elements 13. No matter how hard I tried, I couldn't capture the stray hairs. Perhaps my test wasn't fair since the background and foreground were so similar in color.

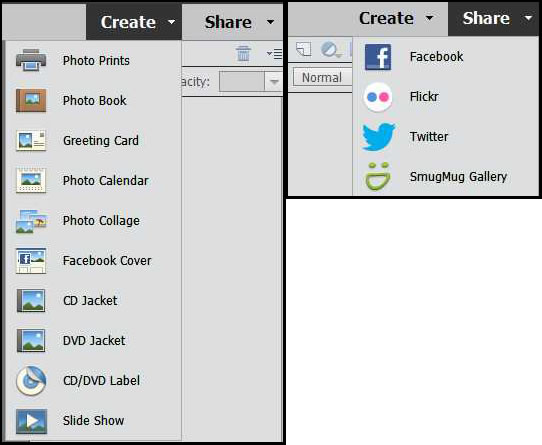
Once you have finished editing an image, you can do more with it through Create and post or send it to friends using Share.
The system requirements for Adobe Photoshop Elements are:
Windows
• 1.6GHz or faster processor with SSE2 support
• Microsoft Windows 7 with Service Pack 1, Windows 8 or Windows 10 (32-bit versions will be installed on 32-bit systems; 64-bit versions will be installed on 64-bit systems)
• 2GB of RAM
• 5GB of available hard-disk space (additional free space required during installation) • 1024x768 display resolution (at 100% scale factor)
• Microsoft DirectX 9 or 10 compatible display driver
• DVD-ROM drive (for installation from DVD)
• QuickTime 7 software
• Internet connection required for product activation and content download*
Mac OS
• 64-bit multicore Intel processor
• Mac OS X v10.9 or v10.10
• 2GB of RAM
• 5GB of available hard-disk space (additional free space required during installation)
• 1024x768 display resolution (at 100% scale factor)
• DVD-ROM drive (for installation from DVD)
• QuickTime 7 software
• Internet connection required for product activation and content
The cost new for Adobe photoshop Elements 14 is $99.99 with an upgrade price of $79.99. If you purchase both Photoshop Elements 14 and Premiere Elements 14, the cost is substantially reduced to $149.99 with an upgrade price of $119.99. To compare versions of Photoshop Elements, click on the link. For more information on Adobe Photoshop Elements 14, go to the Adobe website page for Photoshop Elements 14.
If you use Guided Edit and are thinking of upgrading, I do not recommend this update. If you use Expert or Quick Edit, it works smoothly. In this version of Guided Edit, where you have to go to a main screen each time you want to make a change to your image, the process is very clunky and cumbersome. You cannot easily make cumulative edits. The changes in Adobe Photoshop Elements 14 do not impress me. However, if you do not own Photoshop Elements 14 and you want a top notch image editing sprogram that is non-subscription and inexpensive, it still can't be beat. So if you do not own it, I do recommend it.